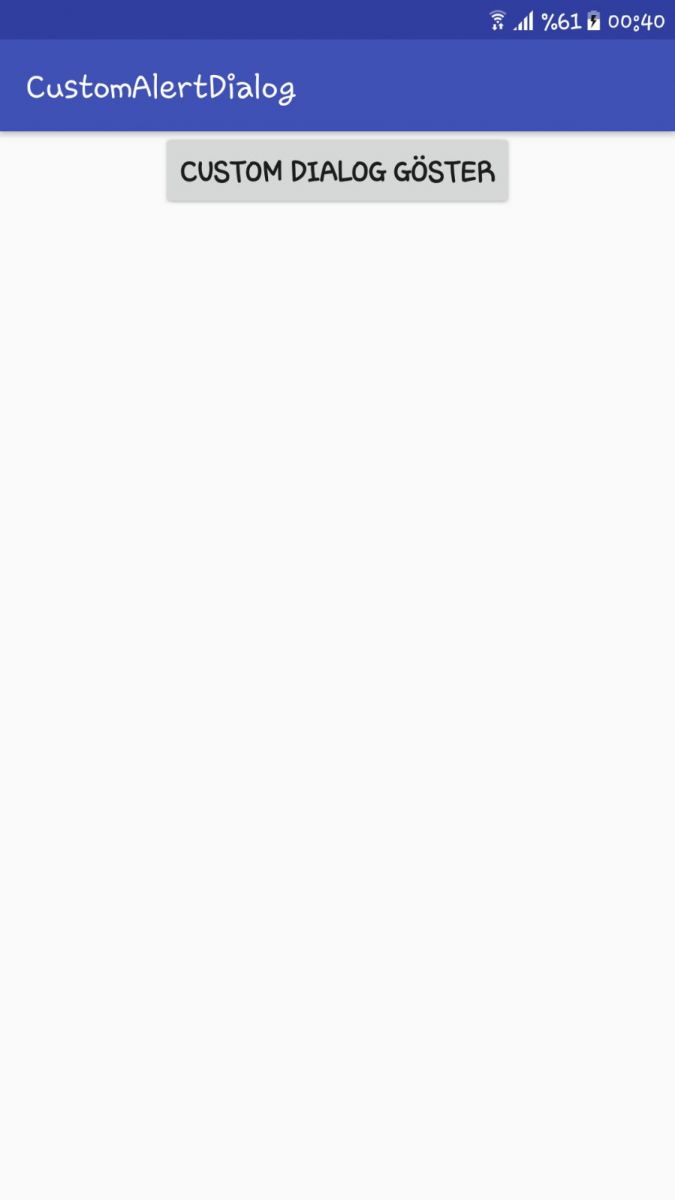
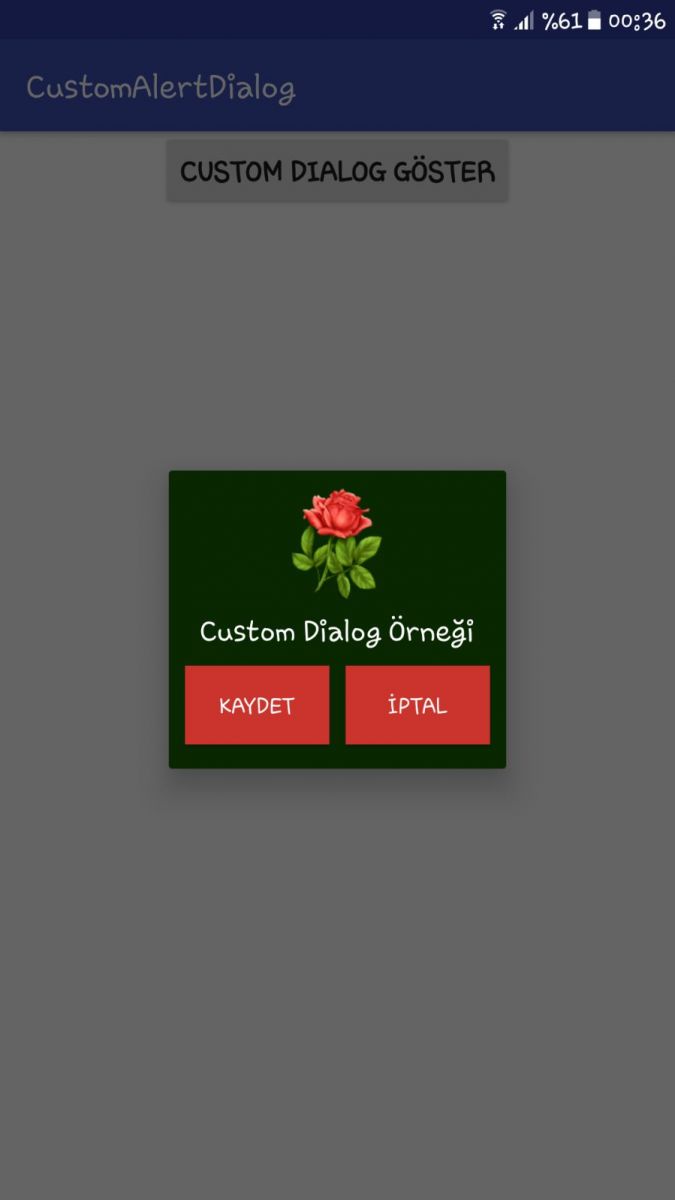
Bu yazıda android de custom alert dialog oluşturmayı paylaşacağım. Alert dialog lar kullanıcıya bilgi vermek için kullanılır. Daha önce alert dialog oluşturmayı görmüştük. Bizler bu dialog pencerelerini isteğimize göre kendimiz tasarlayabiliyoruz. Bu konuyu anlamak için bir uygulama yapalım. Uygulamada bir butona tıklanınca custom dialog penceremiz açılacak.
1) Dialog penceresinin tasarımı
Dialog penceresinde en üstte bir resim(ImageView), altta başlık olarak kullanacağımız bir textView, onun altında da iki buton olacak.
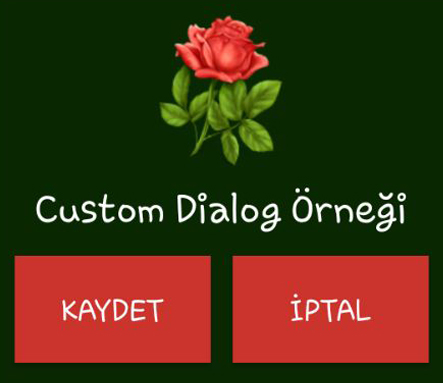
res/layout/ dizininde custom_dialog.xml dosyasını oluşturuyoruz.
<?xml version="1.0" encoding="utf-8"?>
<LinearLayout xmlns:android="http://schemas.android.com/apk/res/android"
    xmlns:app="http://schemas.android.com/apk/res-auto"
    android:layout_width="wrap_content"
    android:layout_height="wrap_content"
    android:background="#092802"
    android:orientation="vertical"
    android:padding="5dp">

    <ImageView
        android:id="@+id/imageview_resim"
        android:layout_width="70dp"
        android:layout_height="70dp"
        android:layout_gravity="center"
        android:layout_margin="5dp"
        app:srcCompat="@drawable/rose" />

    <TextView
        android:id="@+id/textview_baslik"
        android:layout_width="wrap_content"
        android:layout_height="wrap_content"
        android:layout_gravity="center"
        android:text="Custom Alert Dialog Penceresi"
        android:textColor="#ffffff"
        android:textSize="18sp" />

    <LinearLayout
        android:layout_width="wrap_content"
        android:layout_height="wrap_content"
        android:layout_gravity="center_horizontal"
        android:layout_marginTop="10dp"
        android:gravity="center"
        android:orientation="horizontal">

        <Button
            android:id="@+id/button_kaydet"
            android:layout_width="wrap_content"
            android:layout_height="wrap_content"
            android:layout_gravity="left"
            android:layout_margin="5dp"
            android:background="#cb332d"
            android:text="Kaydet"
            android:textColor="#ffffff" />

        <Button
            android:id="@+id/button_iptal"
            android:layout_width="wrap_content"
            android:layout_height="wrap_content"
            android:layout_gravity="right"
            android:layout_margin="5dp"
            android:background="#cb332d"
            android:text="İptal"
            android:textColor="#ffffff" />
    </LinearLayout>
</LinearLayout>
2) Temel layout dosyasının oluşturulması
res/layout/ dizininde activity_main.xml dosyasını oluşturuyoruz.
<?xml version="1.0" encoding="utf-8"?>
<LinearLayout xmlns:android="http://schemas.android.com/apk/res/android"
    xmlns:app="http://schemas.android.com/apk/res-auto"
    xmlns:tools="http://schemas.android.com/tools"
    android:layout_width="match_parent"
    android:layout_height="match_parent"
    android:gravity="center_horizontal"
    tools:context="com.sdahmet.customalertdialog.MainActivity">

    <Button
        android:id="@+id/button_show_dialog"
        android:layout_width="wrap_content"
        android:layout_height="wrap_content"
        android:text="Custom Dıalog göster"
        android:textSize="18sp"
        android:textStyle="bold" />

</LinearLayout>
3) Activity java dosyasının oluşturulması
MainActivity.java dosyasını oluşturuyoruz.
package com.sdahmet.customalertdialog;

import android.app.Dialog;
import android.content.Context;
import android.os.Bundle;
import android.support.v7.app.AppCompatActivity;
import android.view.View;
import android.widget.Button;
import android.widget.ImageView;
import android.widget.TextView;
import android.widget.Toast;

public class MainActivity extends AppCompatActivity {

    Button btnGoster;
    final Context context = this;

    @Override
    protected void onCreate(Bundle savedInstanceState) {
        super.onCreate(savedInstanceState);
        setContentView(R.layout.activity_main);

        btnGoster = (Button) findViewById(R.id.button_goster);
        btnGoster.setOnClickListener(new View.OnClickListener() {
            @Override
            public void onClick(View v) {
                showMyCustomAlertDialog();
            }
        });
    }

    public void showMyCustomAlertDialog() {

        // dialog nesnesi oluştur ve layout dosyasına bağlan
        final Dialog dialog = new Dialog(context);
        dialog.setContentView(R.layout.custom_dialog);

        // custom dialog elemanlarını tanımla - text, image ve button
        Button btnKaydet = (Button) dialog.findViewById(R.id.button_kaydet);
        Button btnIptal = (Button) dialog.findViewById(R.id.button_iptal);
        TextView tvBaslik = (TextView) dialog.findViewById(R.id.textview_baslik);
        ImageView ivResim = (ImageView) dialog.findViewById(R.id.imageview_resim);

        // custom dialog elemanlarına değer ataması yap - text, image
        tvBaslik.setText("Custom Dialog Örneği");
        ivResim.setImageResource(R.drawable.rose);

        // tamam butonunun tıklanma olayları
        btnKaydet.setOnClickListener(new View.OnClickListener() {
            @Override
            public void onClick(View v) {
                Toast.makeText(context, "Kaydet işlemi çalıştı!!", Toast.LENGTH_SHORT).show();
            }
        });
        // iptal butonunun tıklanma olayları
        btnIptal.setOnClickListener(new View.OnClickListener() {
            @Override
            public void onClick(View v) {
                dialog.dismiss();
            }
        });

        dialog.show();
    }
}
btnGosterdeğişkeninin tıklanma olayı içerisindeshowMyCustomAlertDialog()metodunu çağırıyoruz. Bu metot içerisindeDialogsınıfındandialognesnesini oluşturuyoruz.dialog.setContentView(R.layout.custom_dialog)ile daha önce oluşturduğumuz layout dosyasına erişiyoruz.dialog.findViewById()ile custom_dialog sayfasında oluşturduğumuz nesnelere erişip bunları bir değişkene atıyoruz.btnKaydet.setOnClickListener(...)ile "Kaydet" butonuna tıklanınca yapılacak işlemleri belirtiyoruz. Buradadialog.dismiss()ile herhangi bir işlem yapmadan dialog penceresini kapatıyoruz.btnIptal.setOnClickListener(...)ile "İptal" butonuna tıklanınca yapılacak işlemleri belirtiyoruz. Burada basit bir toast mesajı gösterdik.dialog.show()ile dialog penceresini ekranda gösteriyoruz.
Uygulama Görüntüleri